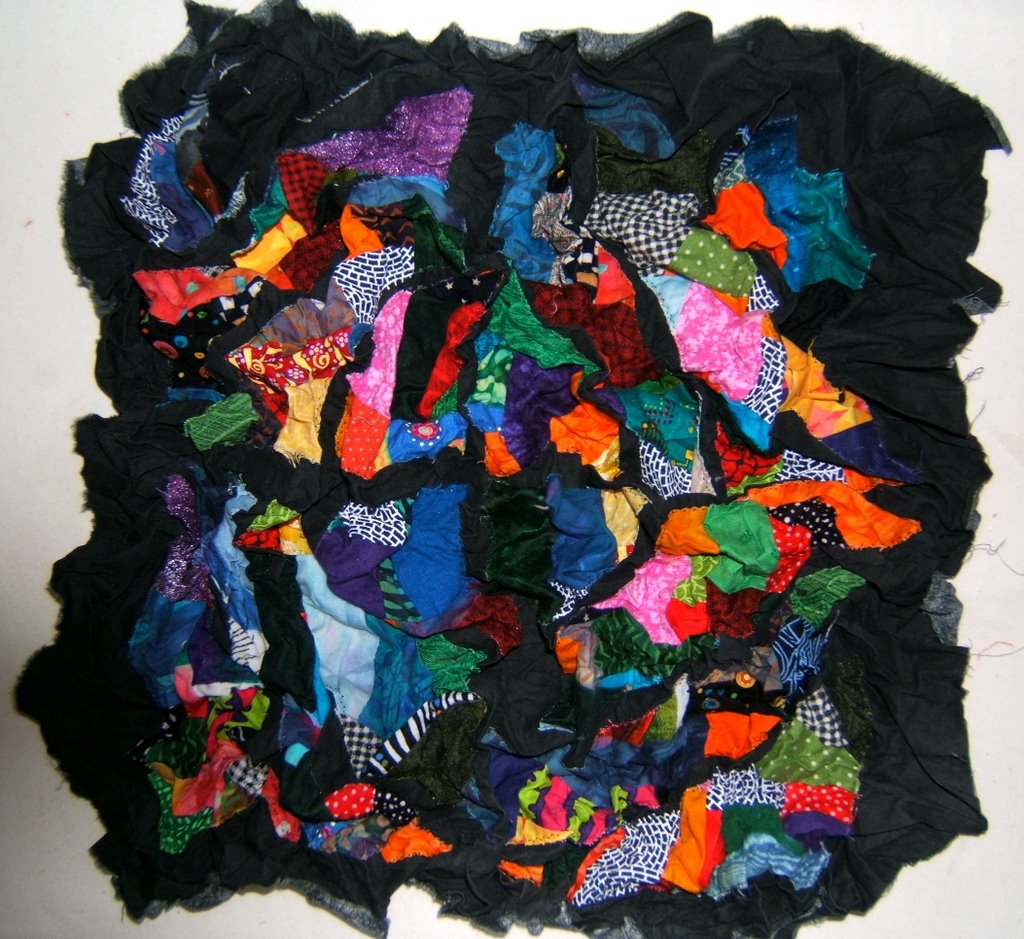
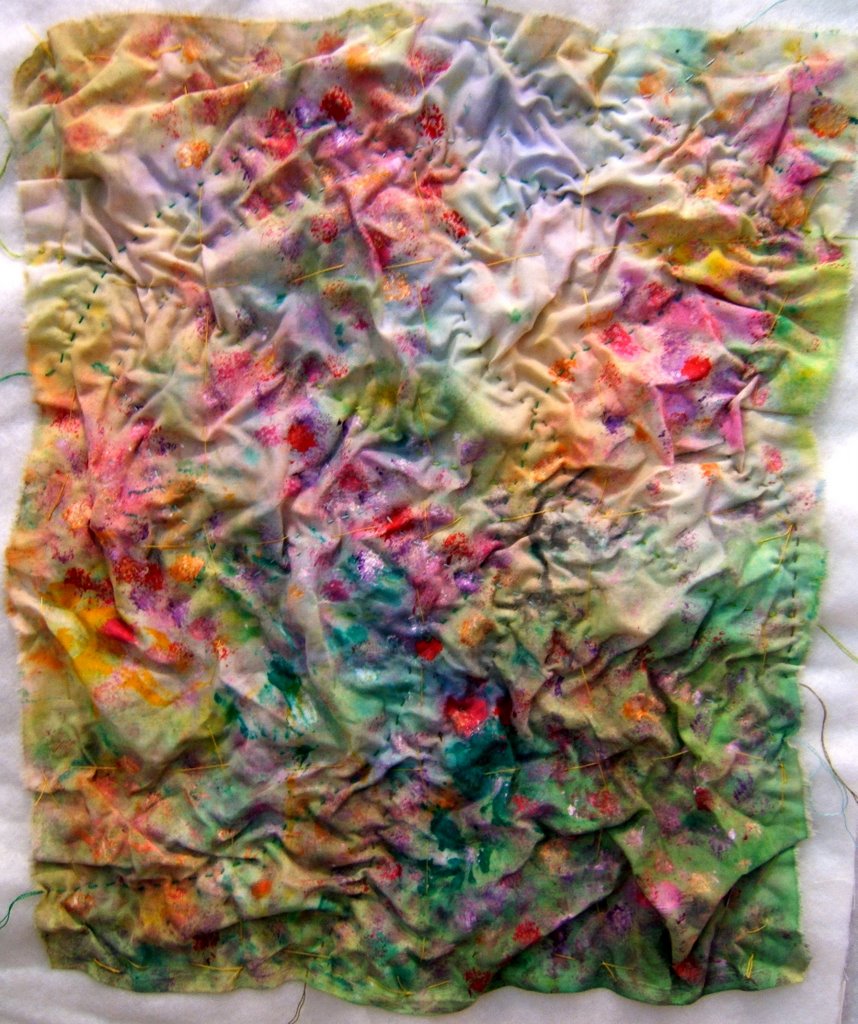
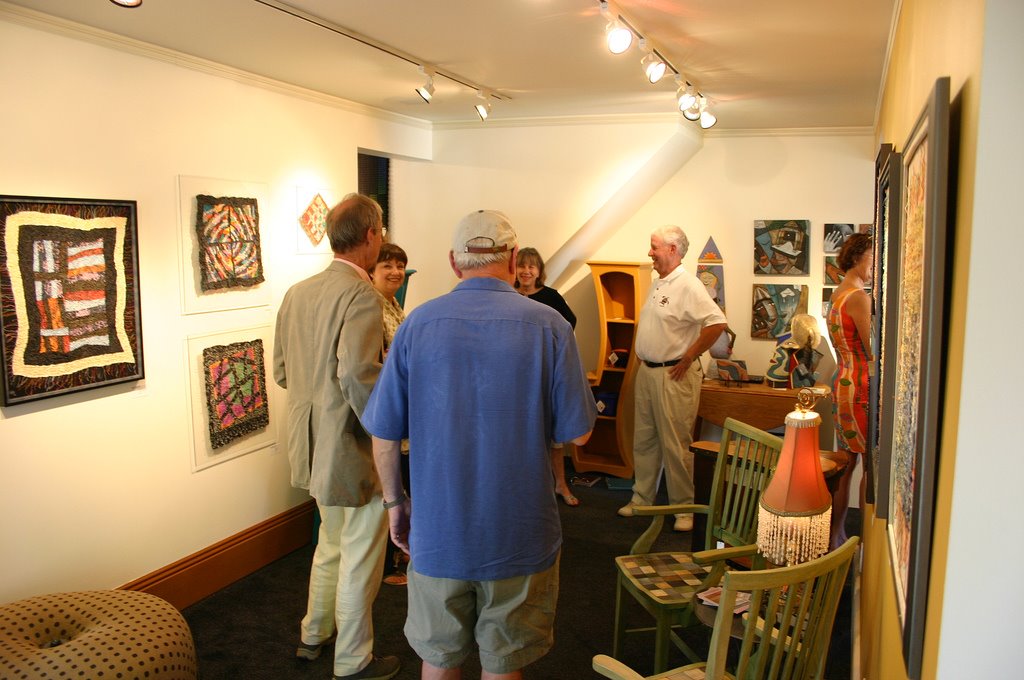
My time right now is chocked full of deadlines. This next Friday, June 30th, a wine reception featuring my "Crinkle Quilts" is taking place at the gallery,
Good Goods, in Saugatuck, Michigan. YEAH! WHOOPEE! My first ever! Also, we're hosting a family reunion here at the cottage. The first event for our gathering is that wine reception.

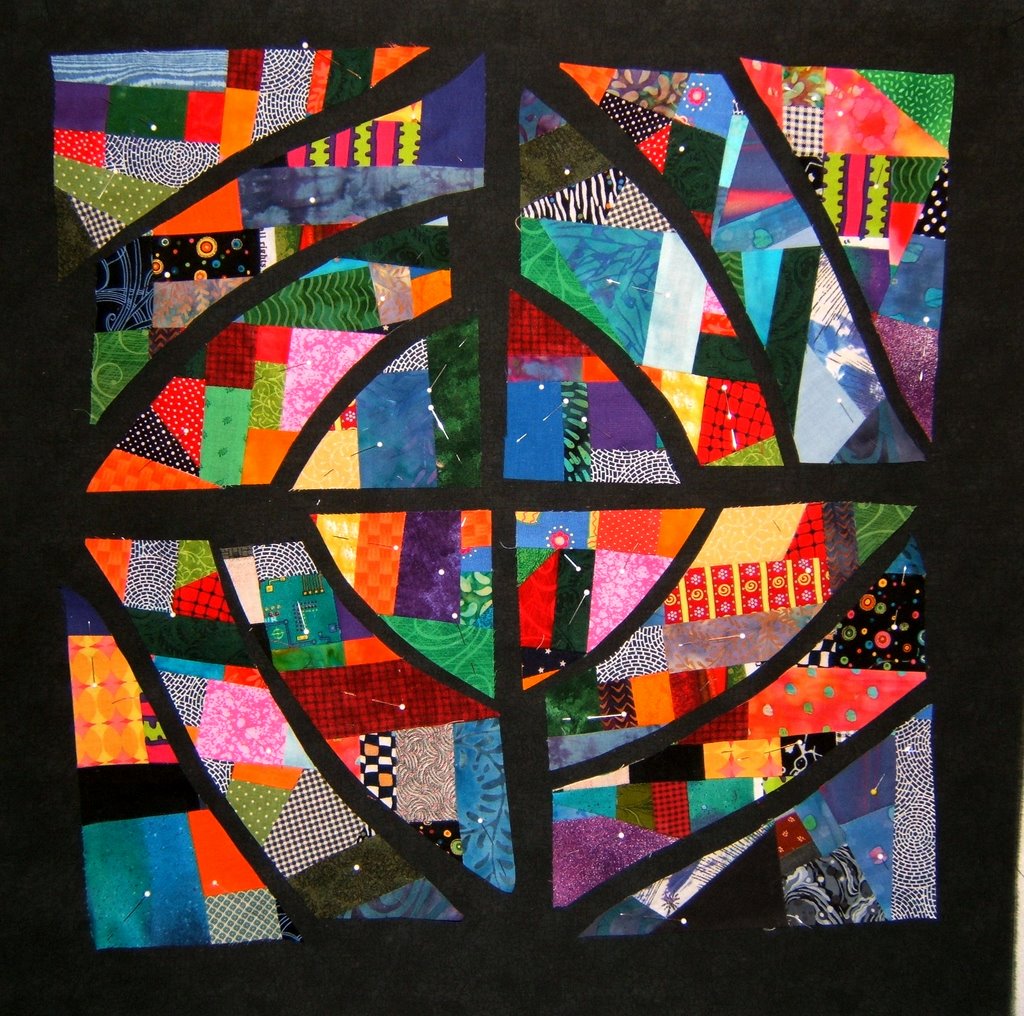
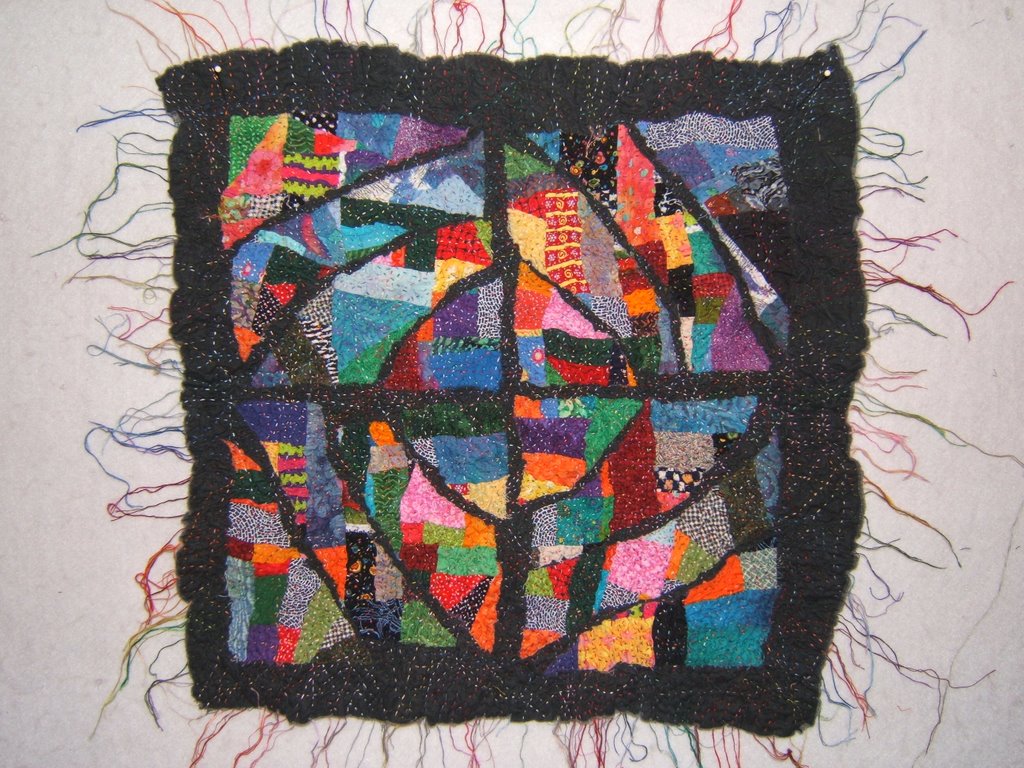
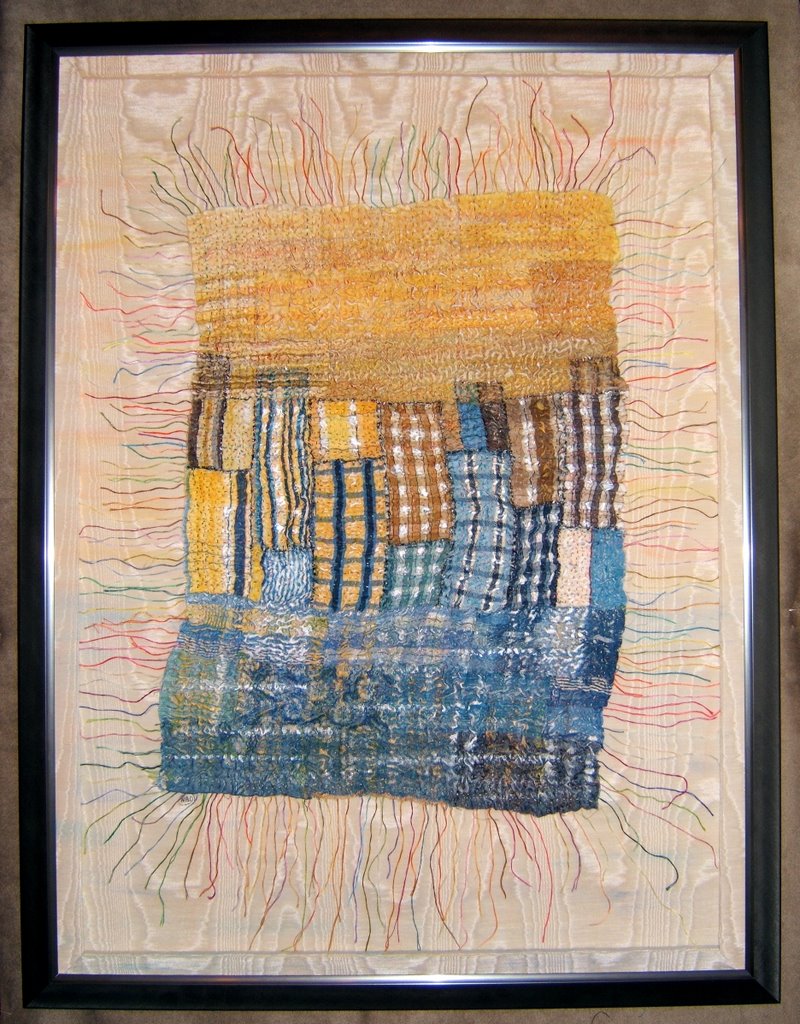
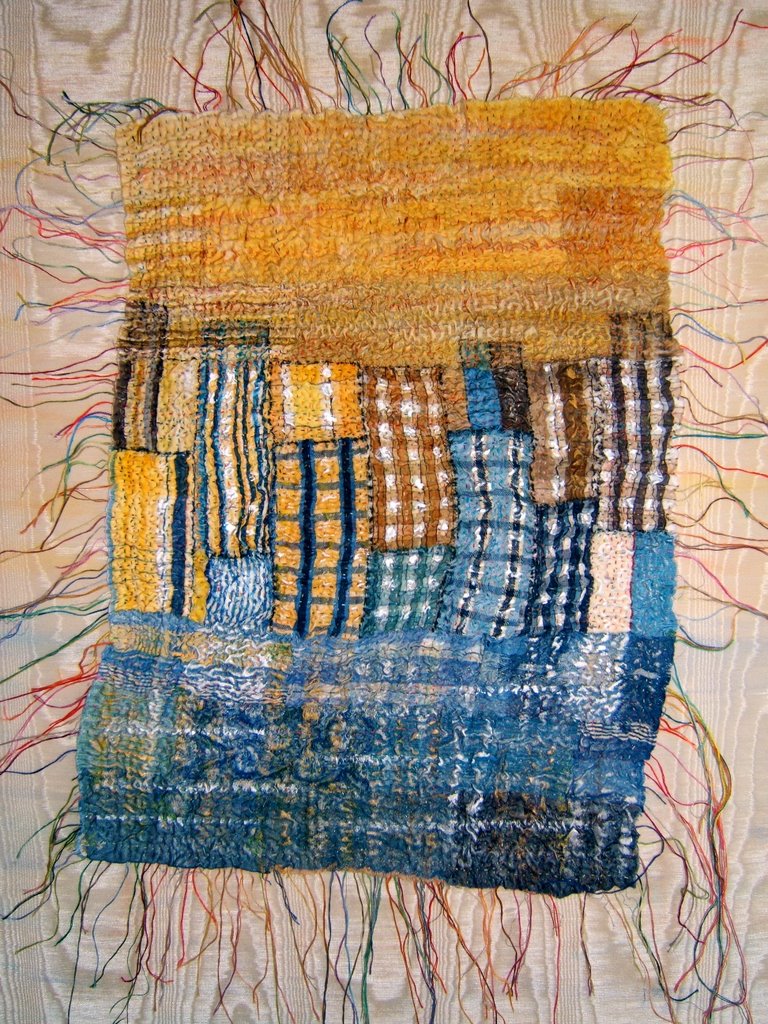
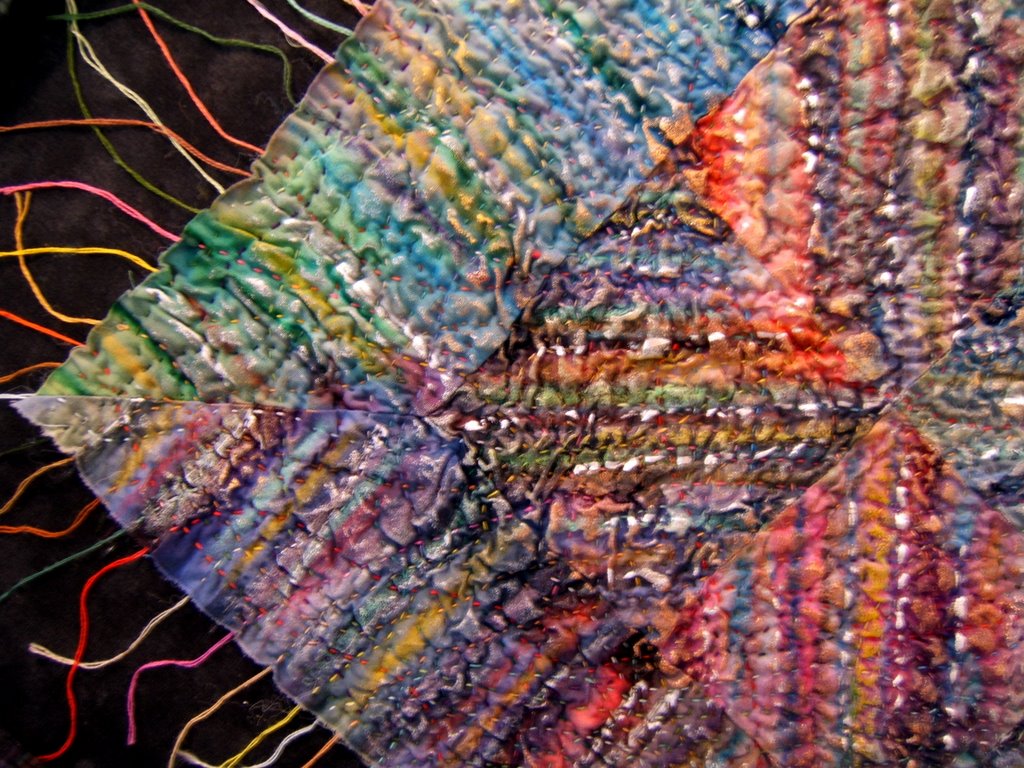
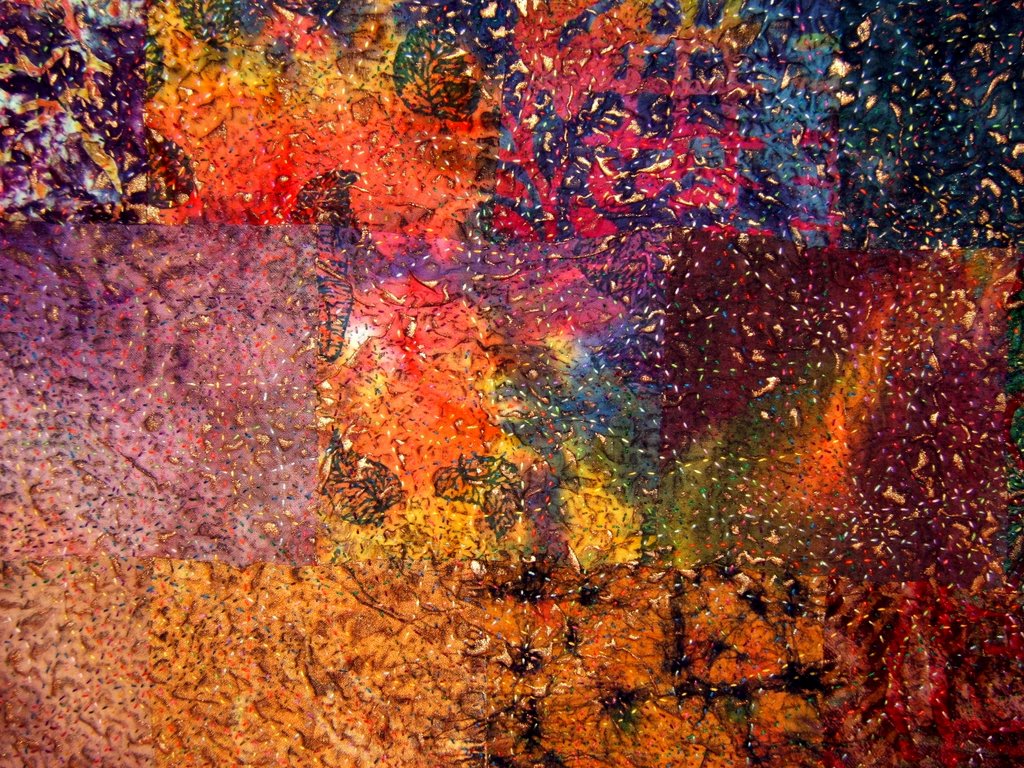
"Circle 'round" Sliced Series - 24"x24" (frame size) - 2006
This is the story of how Good Goods and I connected last fall. The gallery was looking for new (unseen) artists in the fiber medium because the Convergence symposium is taking place in Grand Rapids at the end of June (this next week). It is the biennial, international conference sponsored by the Handweavers Guild of America, Inc. (HGA). My timing in approaching them at the end of last summer with my art couldn't have been more perfect. Good Goods represents varied art mediums plus high end manufactured crafts ... lots of Sticks furniture and Yardbirds metal sculptures, as well as artists Chris Roberts Antieau, Tim Harding clothing line and his art pieces, plus a number of other artists. They gladly kept the pieces that I had with me in Michigan. I'd brought them up here with the intent of approaching galleries. I'm really happy to have connected with this one.

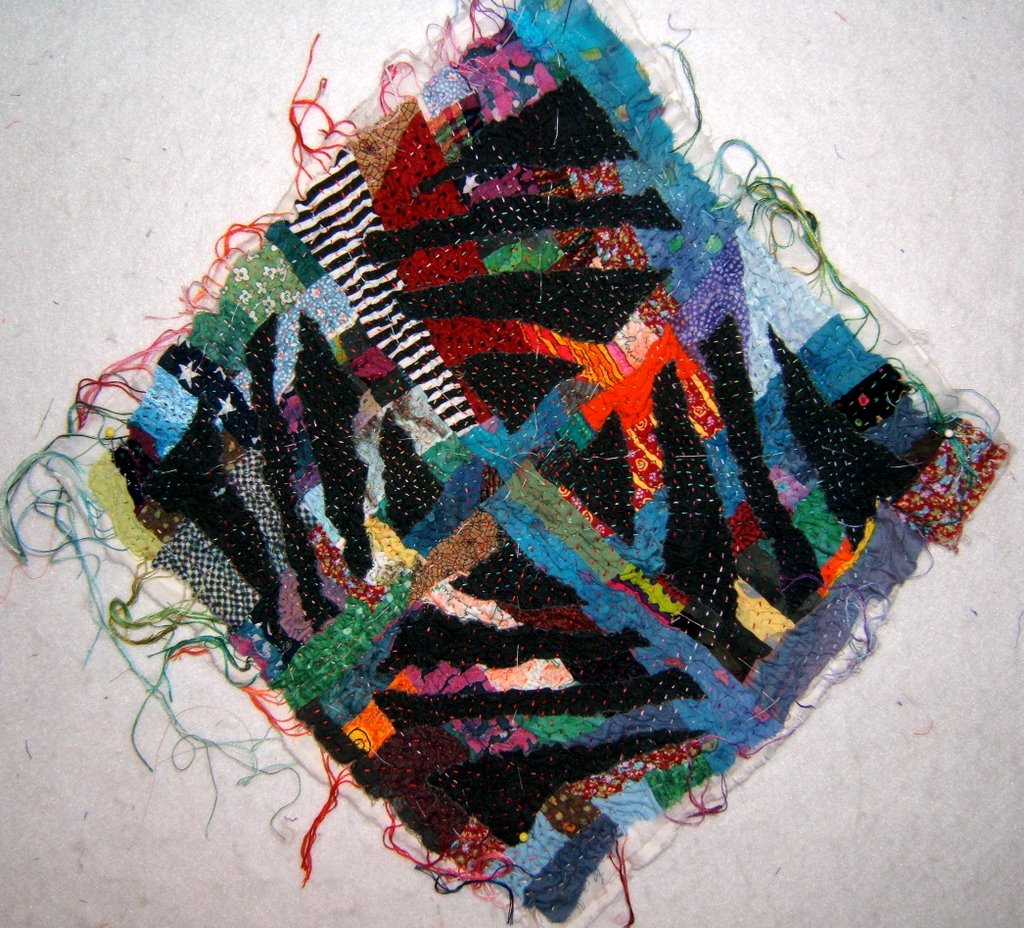
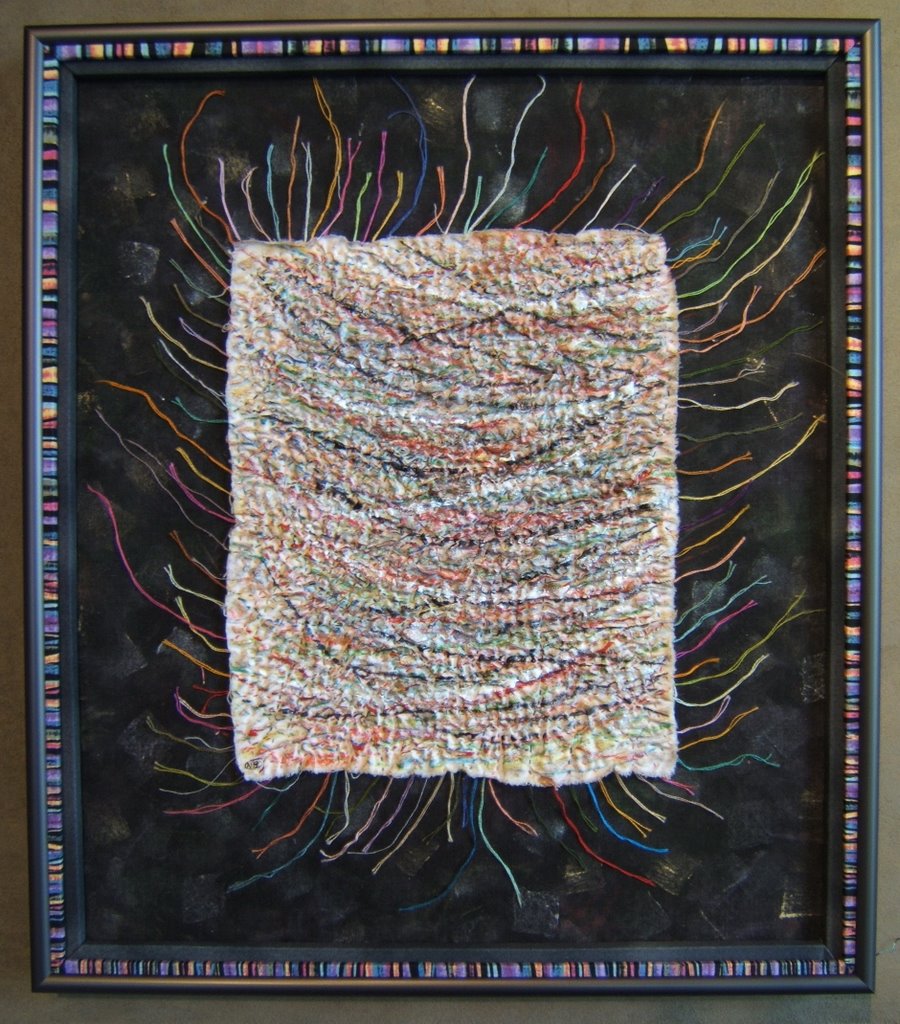
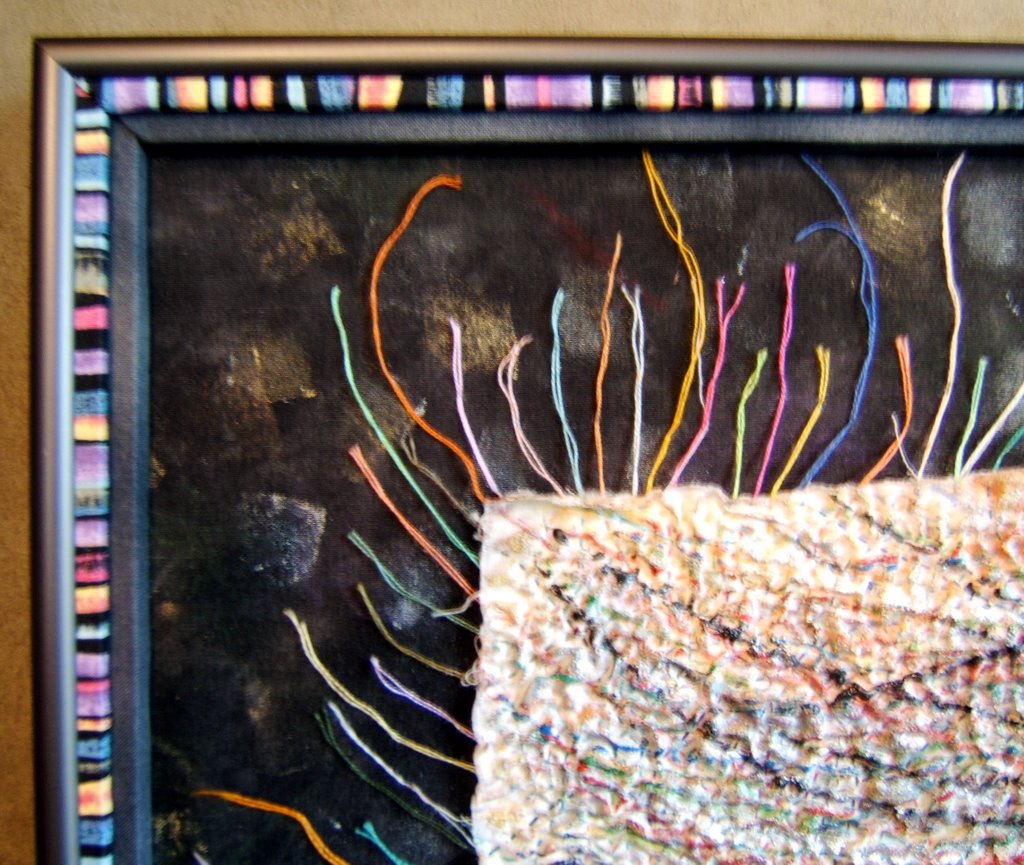
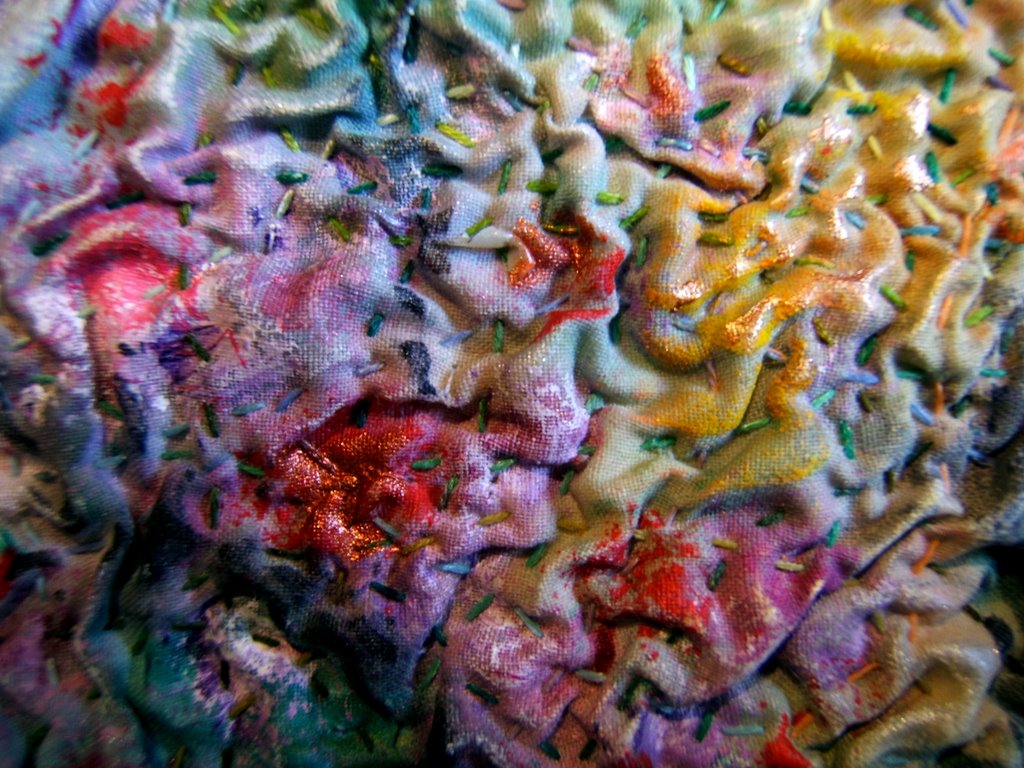
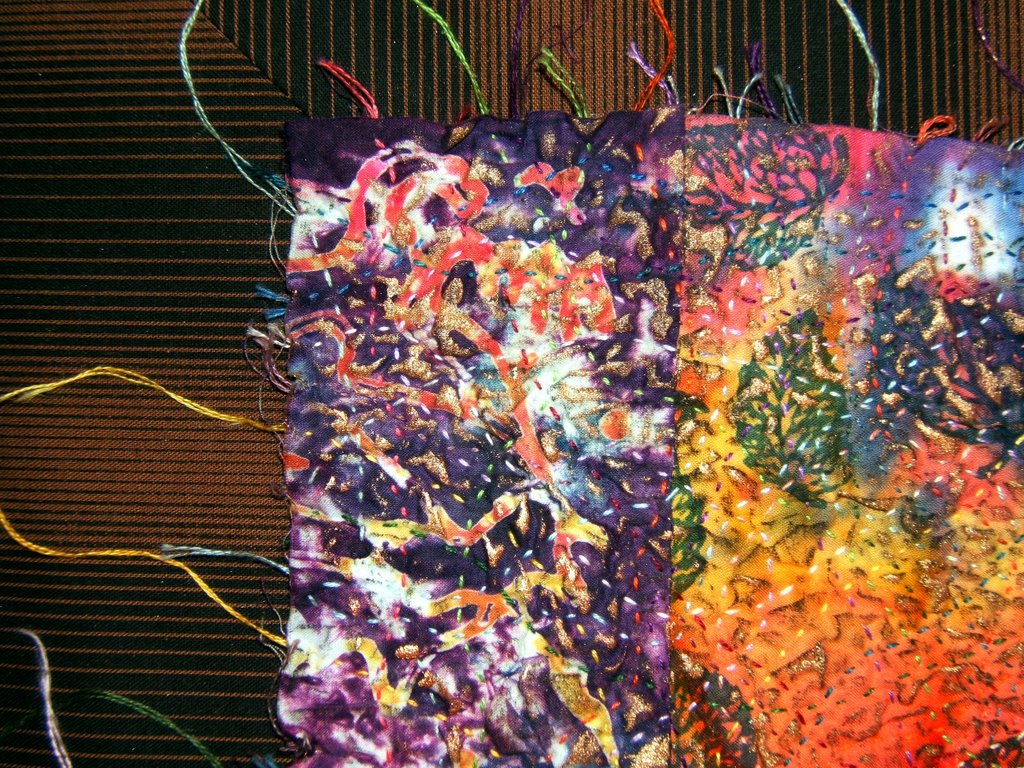
back side detail of "Circle 'round"
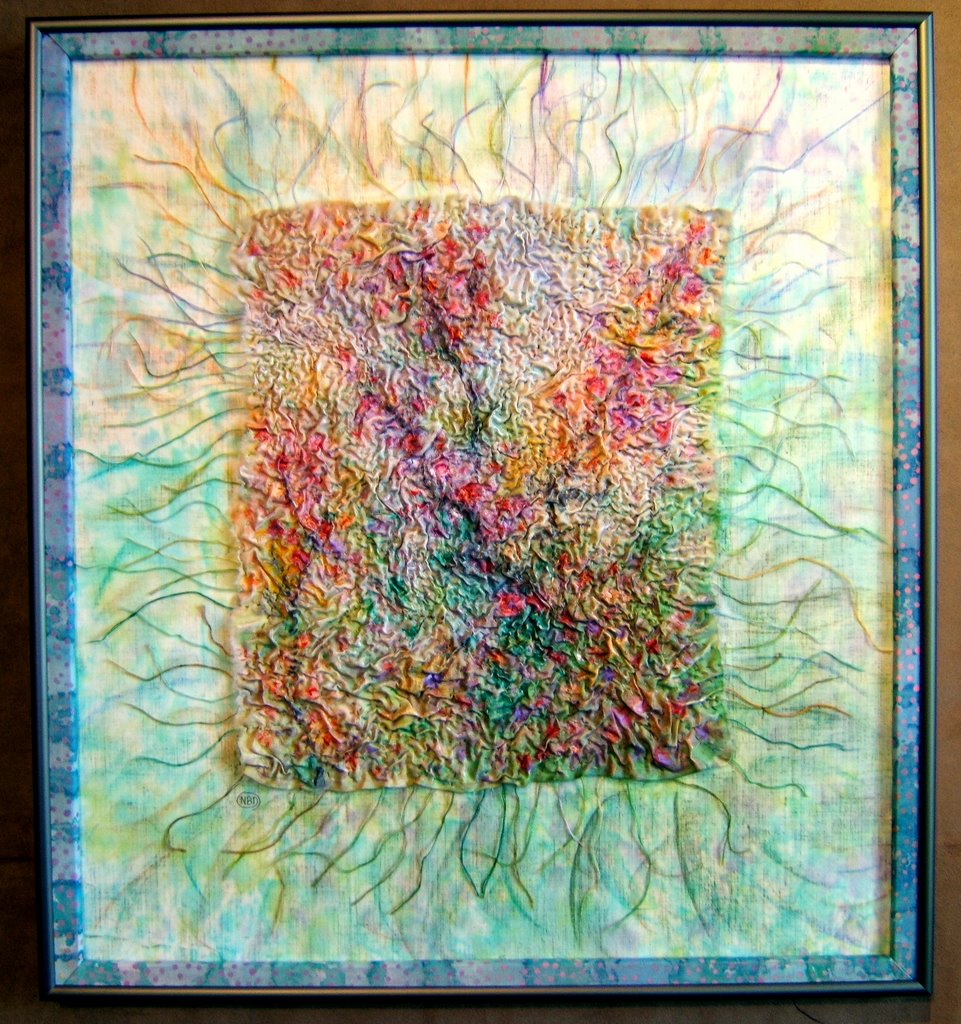
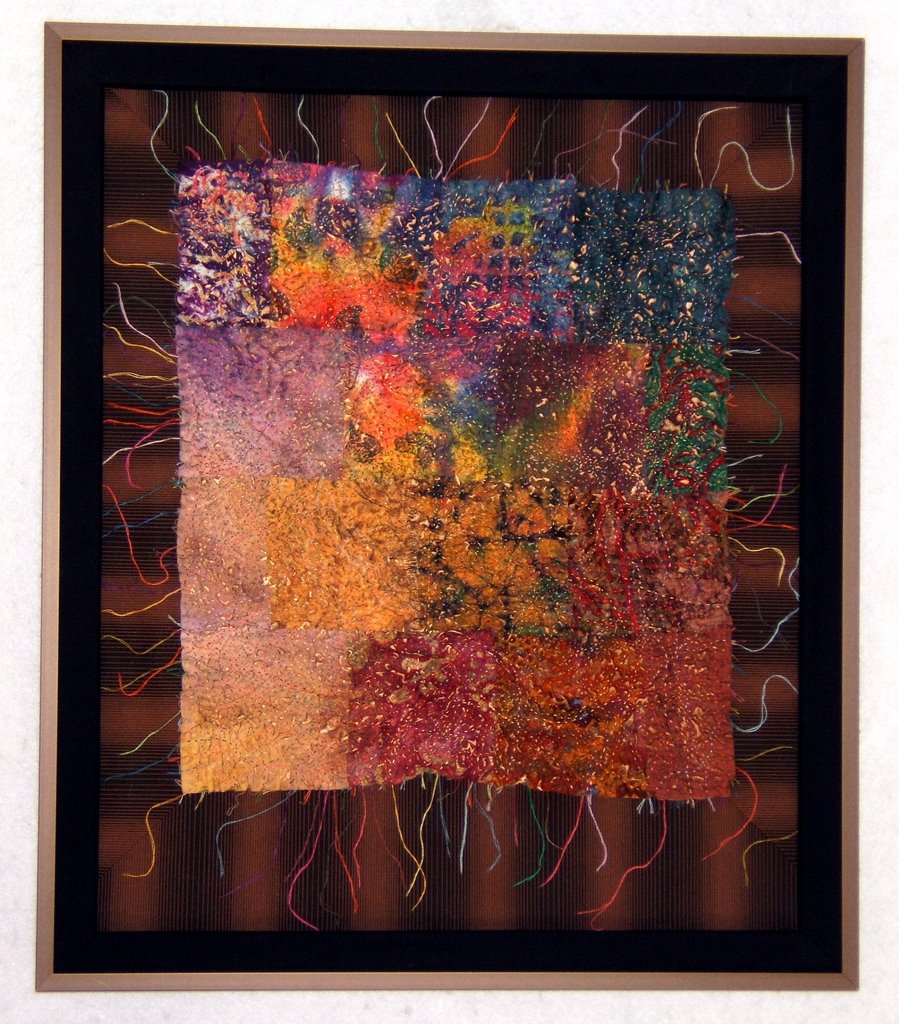
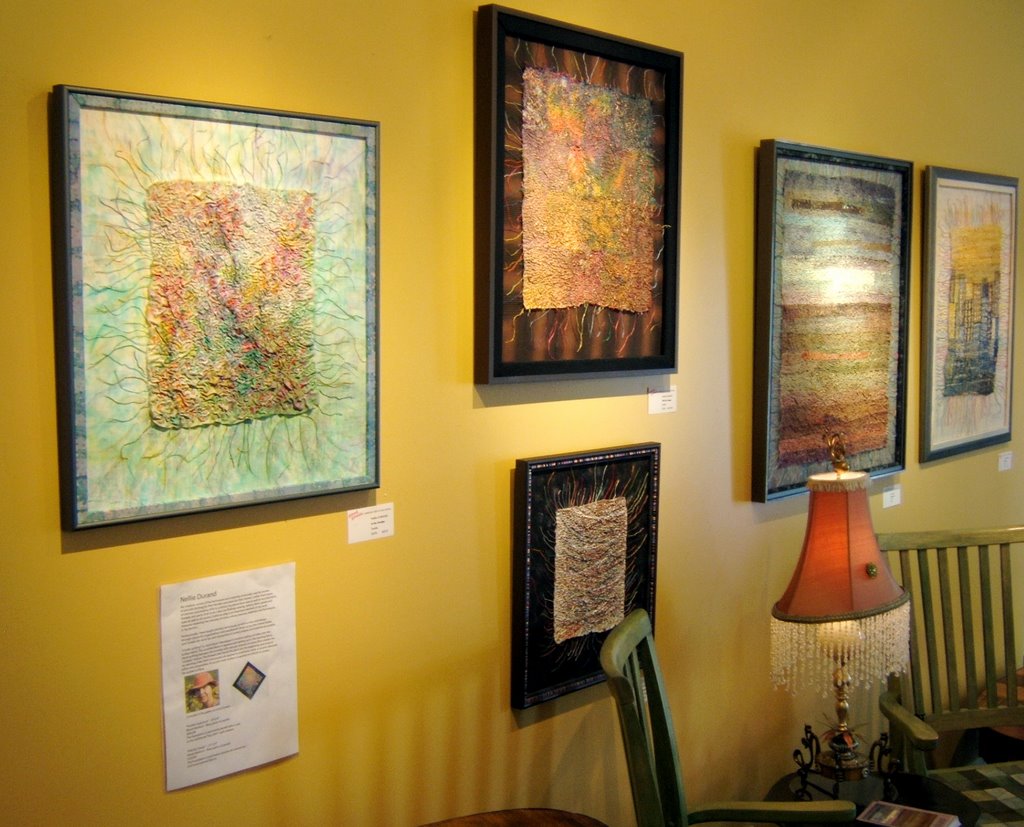
I delivered seven more framed up pieces this summer. The last three are mounted on plexiglass (finished and mounted since I arrived). I drill "buttonholes" and tie the piece onto the surface with the knots on the back. I love that the piece isn't flattened out, that the shadows reflect behind it, and how the quilt appears to float off the wall. I had to come up with a different way to handle those thread ends that fram the piece. On the day that I was really struggling with what to do with all those long floppy threads, I had been describing Dottie Moore's short spiky hair (along with her other amazing attributes) to someone. That look was my solution ... she surely had to use a product to get her hair to stand up, so I used gel medium for the same purpose. (Dottie got a kick out of this story).
I'll post photos of the new pieces at the gallery in the near future. To see the crinkle quilts at Good Goods go their website or my postings about them:
Good Goods Burning Tree Gallery In the Spirit of Gee's Bend Series
Passing StormI won't be posting here for the next week, or so. There's still quite a bit of preparation for the gathering of our clan and then the fun of their all being here. This is our first "reunion" since my mother-in-law died. When she was living, we gathered for Christmas's in Tennessee and here at the cottage in Michigan often. This would've been her 100th birthday, so we're honoring her memory with this coming together of 3 generations in her most favorite place in the world. Her father purchased this cottage when she was 12 years old. Our grandchildren are the 5th generation here.
All photos are clickable for you to view a larger version in a separate window. Click the back arrow icon of your server to get back to this post. The highlighted text is also clickable to take you to the link or posting that is being referenced.
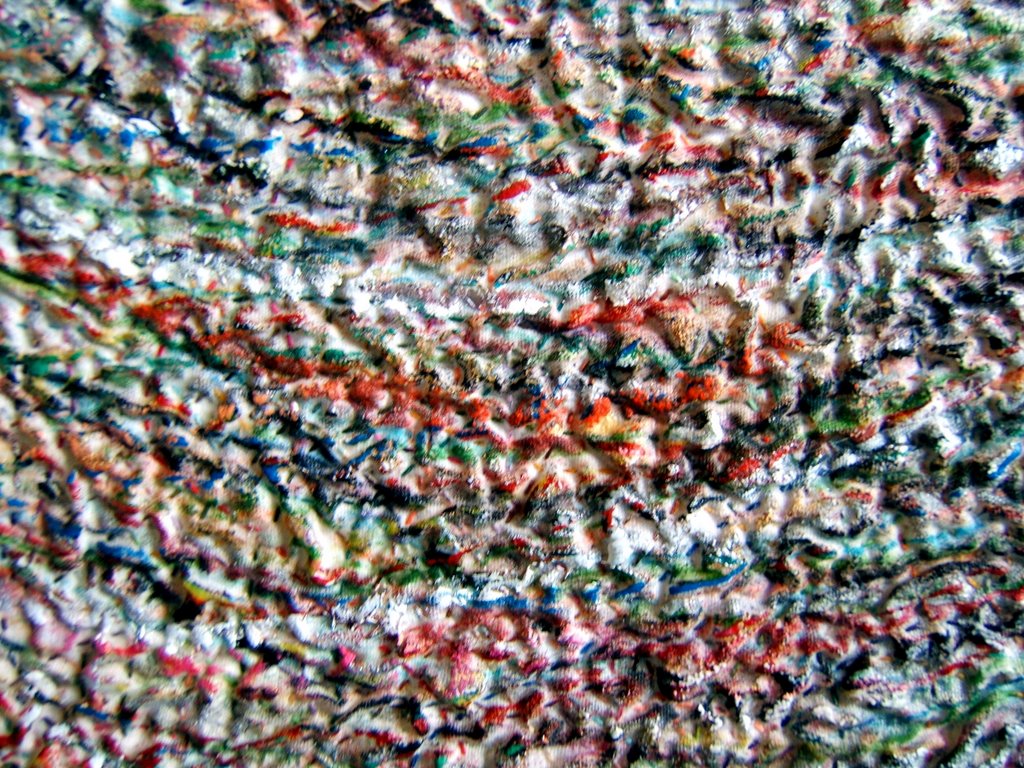
 Here's a photo of my contribution. Click on the title of that blog to read more. For additional information on my art piece from which this detail is taken go here.